Reaching the Right Neighbors: A Complete Tutorial on the ParcelView3D Neighbor Mailer
A step-by-step guide to running targeted direct-mail campaigns from inside your ParcelView3D dashboard
Direct mail is still one of the highest-converting outreach channels in the land business, but only when it lands in the right mailboxes. The ParcelView3D Neighbor Mailer is built around that idea. Instead of buying broad mailing lists or stitching together half a dozen tools, you can identify the exact adjacent landowners around any property you control and send them a personalized, branded letter in just a few clicks.
Where general-purpose mailing platforms stop at addresses and labels, ParcelView3D goes further. Each letter doubles as an invitation to an interactive parcel experience the recipient can open on their phone. This tutorial walks you through every step.
Sending Your First Neighbor Mail Campaign
The Neighbor Mailer is accessed from the main ParcelView3D dashboard. Once you are logged in, open the Neighbor Mailer module from the left-hand navigation. You will land on a workspace that lists every property currently in your portfolio, ready to be turned into a mail campaign.
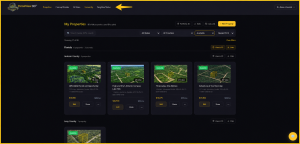
Step 1 — Select a property from your portfolio
Begin by selecting the property you want to run the campaign around. This is typically a parcel you currently own, have under contract, or have listed for sale. Your full property list is pre-loaded, so there is no need to enter coordinates or upload anything manually.
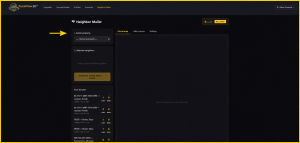
Step 2 — Choose the target parcel
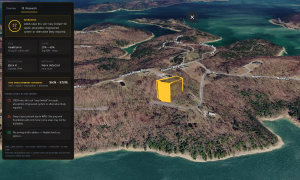
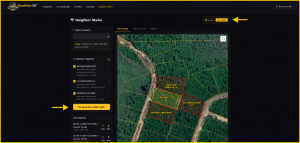
After picking the property, confirm the target parcel on the map. The Neighbor Mailer highlights your selection and prepares to display the parcels that surround it. This is usually the parcel you intend to market plus the immediate neighbors you want to reach.
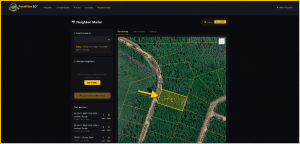
Step 3 — Pick the neighbors to mail
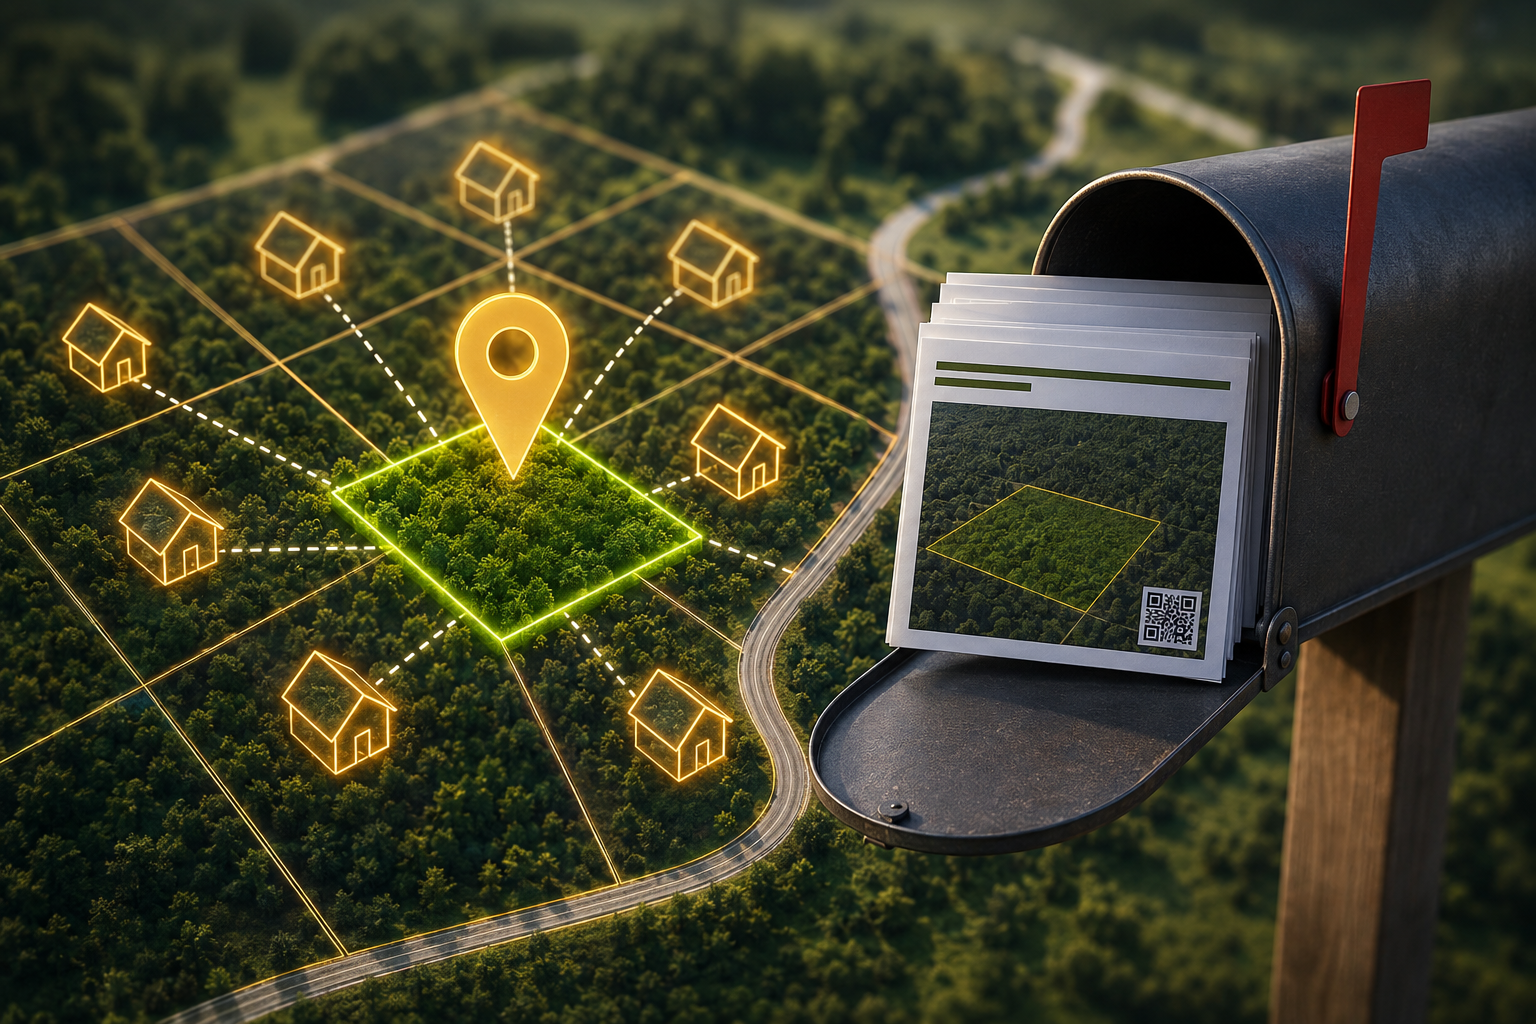
This is where ParcelView3D really shines compared to traditional mailing tools. Instead of guessing who qualifies as a neighbor, you can simply click each adjacent parcel you want to include. Selected neighbors are visually marked, and the running count of recipients updates in real time so you always know the size of your mailing.
You can also enable the optional setting to automatically skip government-owned parcels. This keeps your campaign focused on individual landowners and prevents wasted credits on parcels that will never produce a lead.
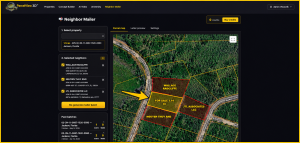
Step 4 — Buy credits, generate your mailer batch, and get ready to send
The Neighbor Mailer runs on a simple credit-based system. Each recipient costs a set number of credits, and your balance is displayed at the top of the screen. When you are happy with your list, confirm the campaign to deduct credits and queue the letters for production.
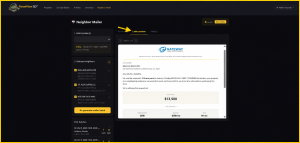
Step 5 — Preview the letter before it ships
Before anything goes to print, you get the chance to download and preview your letter. The PDF preview shows the exact letter your neighbors will receive, formatted with your company branding, the recipient’s information, and the property details you want to promote. If something looks off, jump back into letter settings and adjust it before approving.
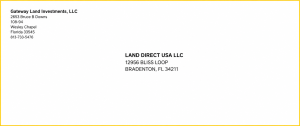
Step 6 — Envelopes, handled automatically
If you are printing the campaign yourself, ParcelView3D will also generate printable envelopes that pair with each letter. There is no need to mail-merge a separate document or format addresses in another program — everything you need is delivered together, ready to drop in the mail.
What Your Neighbors Actually Receive
A great mail piece does more than land in a mailbox. It earns a response. Each ParcelView3D Neighbor Mailer letter is designed to make that next step effortless for the recipient:
- A clean, branded letter with a QR code and a short link they can also type in
- The option to either scan the QR code or copy the link into a browser
- An interactive parcel experience showing both their lot and your lot, side by side, with color-coded boundaries
- A layout optimized for phones, since most recipients will open the link on mobile
- Clearly displayed property details, including the cash price and monthly financing options if you offer them
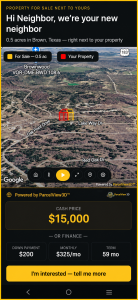
This is the moment where ParcelView3D pulls ahead of more generic mailing or list-buying services. Instead of a flat photo or a written description, the neighbor sees their land and yours in context — an experience that builds trust and curiosity in seconds.
Lead Capture and Tracking
Every recipient who taps through to the interactive view can submit an interest form directly from the page. The moment they do, ParcelView3D handles the rest:
- The new lead is automatically added to your leads table inside the dashboard
- You receive an email notification so you can follow up while interest is fresh
- You can track whether each mailing was opened or interacted with, giving you real visibility into campaign performance
That feedback loop turns direct mail from a one-shot gamble into a measurable channel you can refine over time.
Customizing Your Campaign Settings
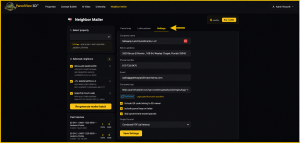
Open the letter settings panel at any time to tailor your campaigns:
- Update your company information so every letter reflects your current branding
- Upload or replace your logo for a polished, consistent look
- Toggle whether to include the QR code linking to the interactive 3D viewer
- Choose whether to include a parcel map directly inside the printed letter
- Enable the skip-government-parcels option to keep your campaigns focused on real landowner leads
Wrapping Up
The ParcelView3D Neighbor Mailer turns a process that used to take spreadsheets, label printers, and guesswork into a guided workflow you can finish in minutes. Pick a property, choose your neighbors, preview your letter, and let the platform handle the rest — including printable envelopes and lead tracking on the back end.
If you have a property you want to put in front of the right neighbors right now, log in to your ParcelView3D account, open the Neighbor Mailer, and run your first campaign today.