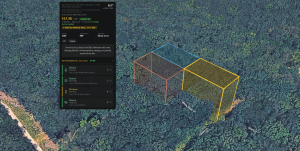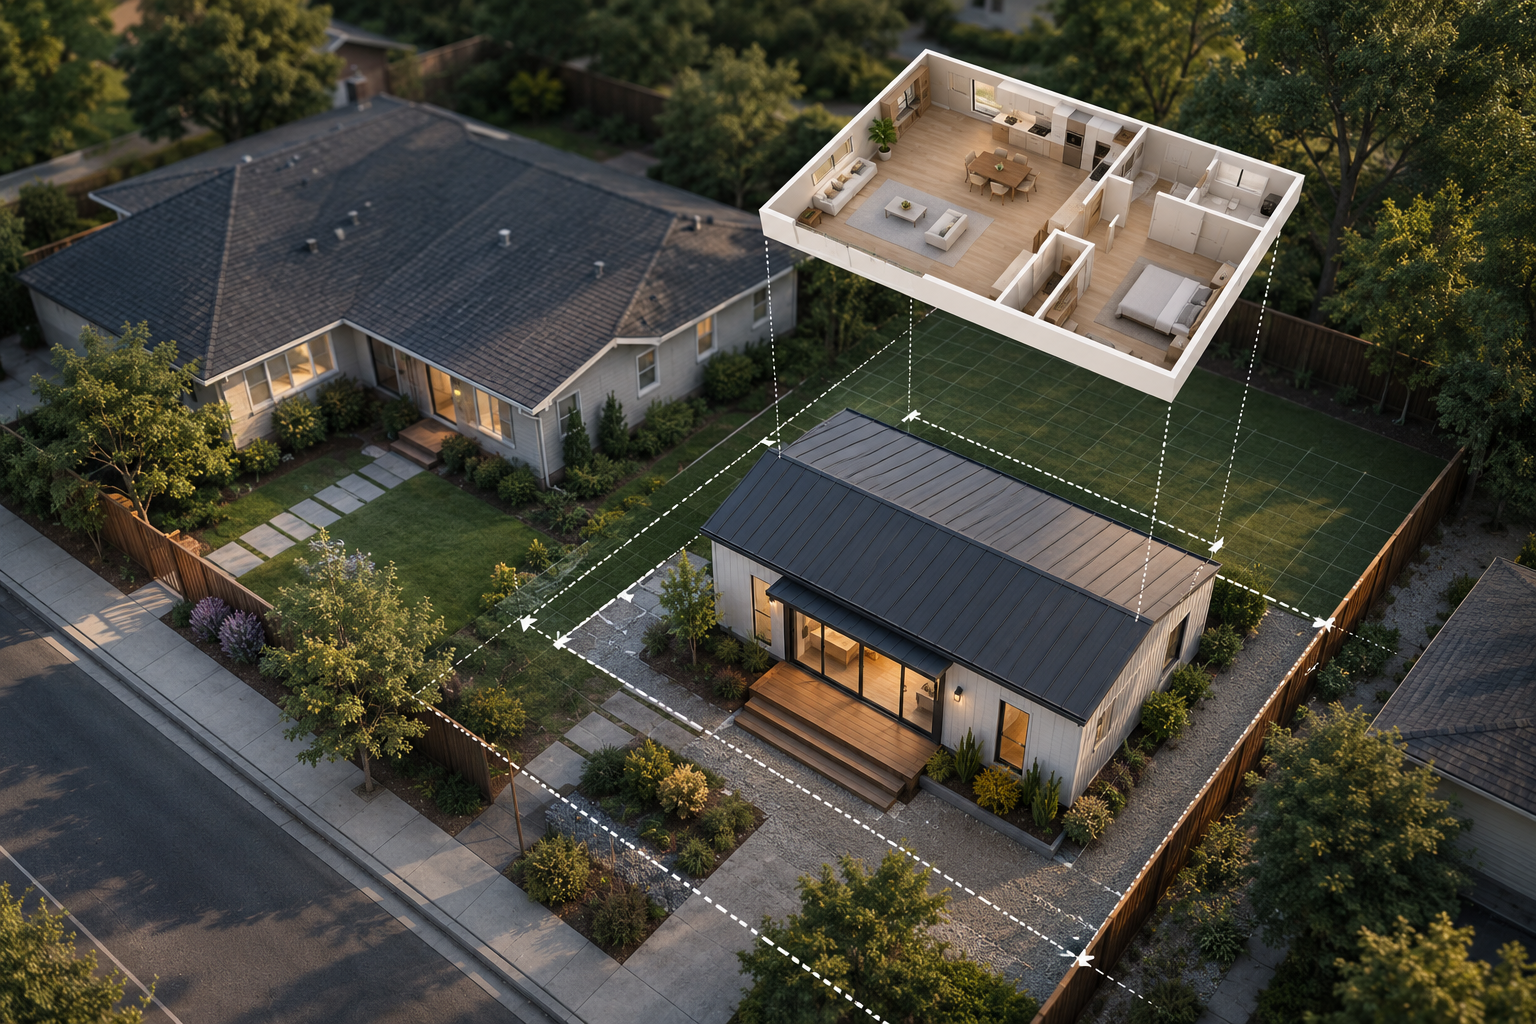
Adding an Accessory Dwelling Unit (ADU) to a property can quickly become overwhelming. Between measuring lot space, checking setbacks, evaluating terrain, and figuring out where a structure will actually fit, many property owners and investors end up guessing — or paying for expensive preliminary planning before knowing whether an idea is feasible.
With ParcelView3D, you can streamline the early-stage ADU planning process directly inside an interactive property experience. Instead of relying on rough estimates or static maps, users can drop floor plans onto a parcel, visualize placement in relation to lot boundaries, evaluate setbacks, and export clean PDF layouts for sharing with contractors, builders, or clients.
In this tutorial, we’ll walk through how to use ParcelView3D to plan an ADU site from start to finish.
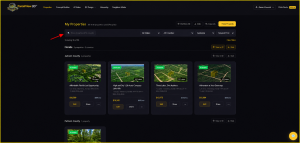
Step 1: Open Your Property in ParcelView3D
Begin by logging into ParcelView3D and opening the property you want to evaluate. You can search for the parcel directly, open an existing saved listing, or access a property already inside your dashboard.
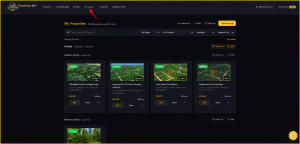
Step 2: Open the Design Tab
Next, navigate to the Design Tab. This section contains the planning and visualization tools needed to create, customize, and preview structures before placing them on the property.
Step 3: Create Floor Plans Using My Floor Plans
Inside the Design Tab, select My Floor Plans. Here, you can create your own custom floor plans and save them as reusable templates.
This feature is especially useful if you plan to test multiple ADU layouts or frequently use similar floor plan designs across properties.
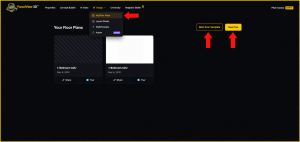
Step 4: Build and Customize Templates in Layout Studio
Once inside the Design tools, use Layout Studio to build or customize your floor plan templates. This allows you to configure room layouts and structure footprints before placing them on the parcel.
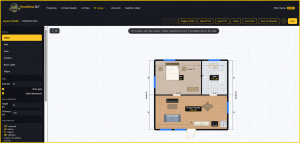
Step 5: Preview the Interior with Walkthroughs
After creating your floor plan, use Walkthroughs to virtually walk around inside the house and visualize the interior space.
This makes it easier to understand room flow, spacing, and usability before construction begins.
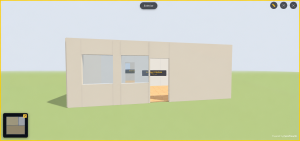
Step 6: Open Site Planner
Now it is time to place your ADU onto the property. Navigate to Site Planner to begin testing structure placement.
Inside Site Planner, you can:
• Choose floor plans that you previously created in My Floor Plans
• Select from built-in ADU templates
• Manually enter structure dimensions
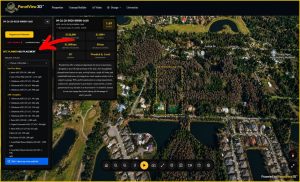
Step 7: Place the ADU and Check Setbacks
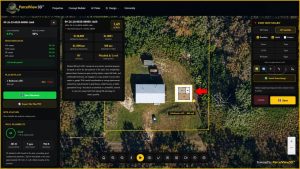
Drop your structure onto the parcel and reposition or rotate it to find the best fit. Try different orientations to optimize privacy, sunlight, driveway access, views, and usable yard space.
Use ParcelView3D measurement tools to visually inspect setbacks and spacing from lot lines before moving forward.
Step 8: Export a Site Plan PDF
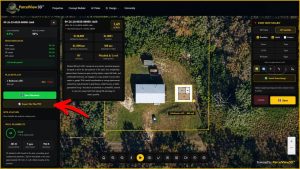
Once you are satisfied with your layout, select Export Site Plan PDF to generate a professional planning document.
This PDF can be shared with contractors, builders, family members, or clients to help communicate your vision more clearly.
Final Thoughts
Planning an ADU does not have to involve endless guesswork. By combining floor plans, walkthroughs, site planning, setbacks, and exportable planning documents into one workflow, ParcelView3D makes the planning process faster, more visual, and easier to communicate.