PARCELVIEW3D · TUTORIAL
Turn any parcel in your portfolio into a cinematic property video in minutes — no drone, no editor, no site visit.
Land sells on feeling. A buyer can read “10 acres, gently rolling, county road frontage” ten times and still not picture it. Motion changes that. A short flyover shows slope, tree cover, and how a parcel sits against its neighbors — and it is the asset that performs best in ads, Reels, and email.
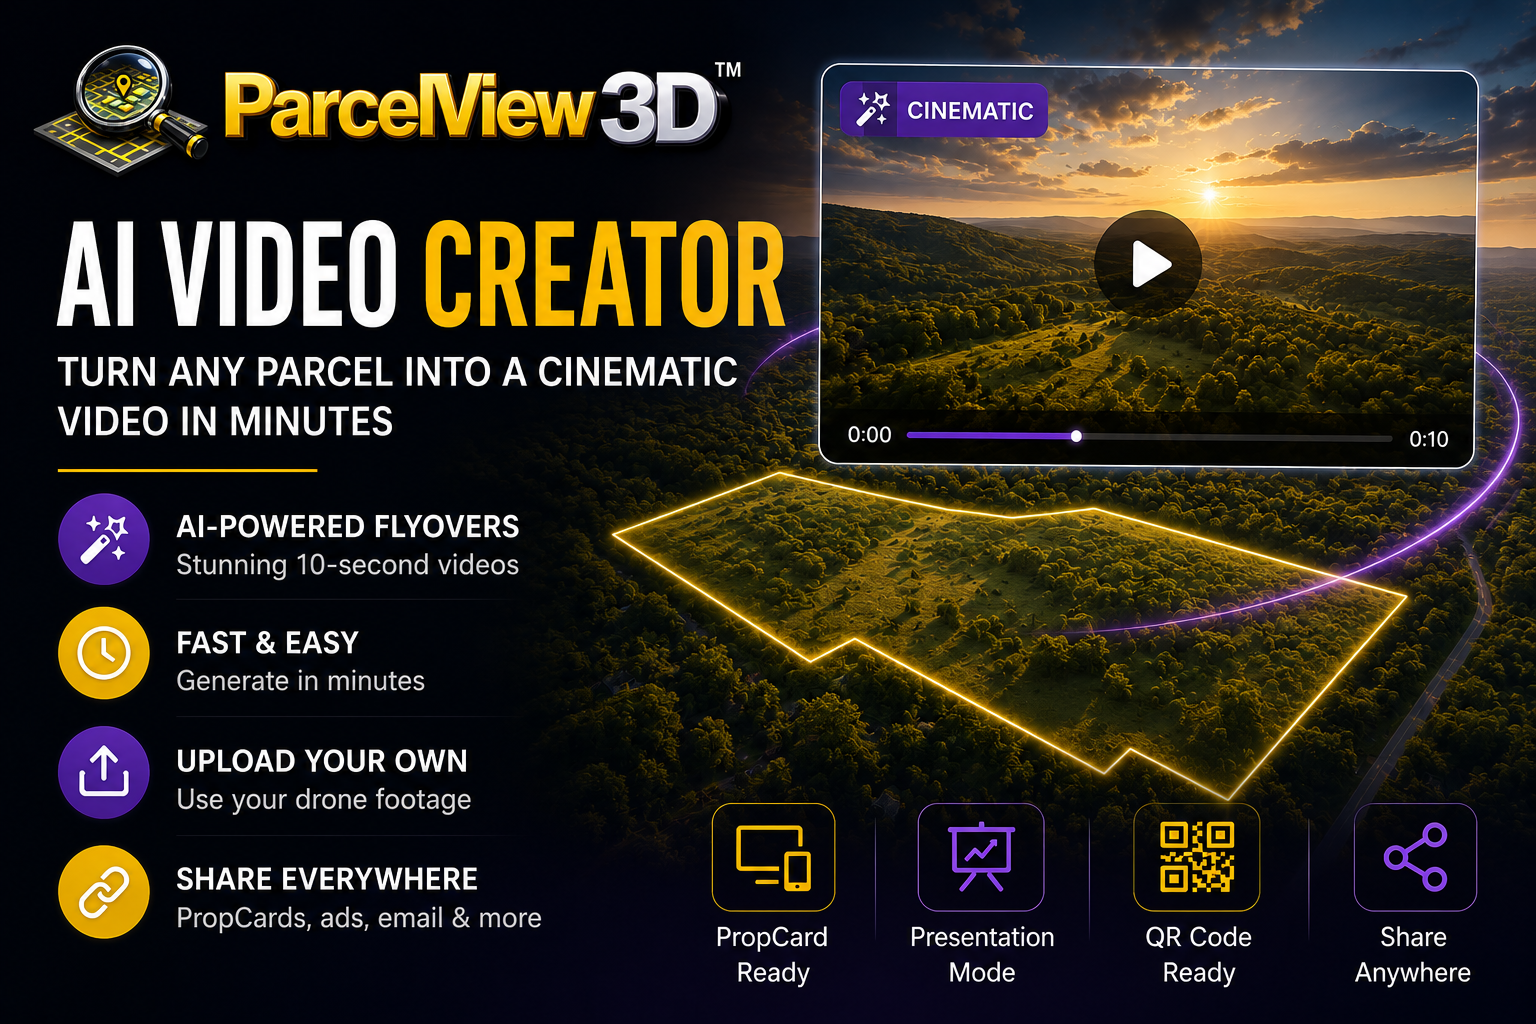
The ParcelView3D AI Video Creator builds that asset for you. It generates a cinematic 10-second flyover from the photorealistic 3D view of a property already in your portfolio, then attaches it to your listing. Here is the whole process.
Before You Start
- An active ParcelView3D account. Video generation is available across the paid plans, and the 7-day trial includes it.
- At least one property added to your portfolio with its boundary confirmed.
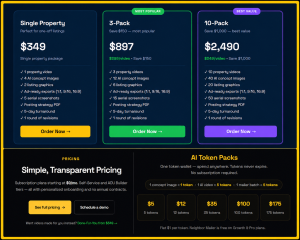
- Tokens in your wallet. One AI video costs 5 tokens. Tokens are a flat $1 each, sold in packs from $5 up to $175, and they never expire — so a video runs you about $5.
Step 1 — Open the Property
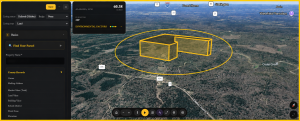
Log in and open your Properties dashboard, then click the parcel you want to promote. Before going further, confirm the boundary is drawn correctly. The video takes its framing from the parcel outline, so a boundary that is off will produce a flyover that misses the land.
Step 2 — Set Up the Shot
Open the 3D view. Drag to rotate, scroll to zoom, and tilt until the parcel is framed the way you want a buyer to see it first. If the property has a standout feature — a ridge line, a pond, paved road frontage — rotate so it is visible. The generator starts from your current camera position, so framing here pays off.
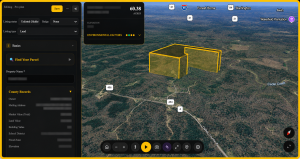
Step 3 — Open the AI Video Creator
From the property record, open the Video panel. You will see two options: generate an AI cinematic video, or upload your own file. Choose the AI option.
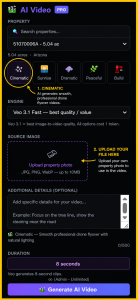
Step 4 — Choose Your Flyover Style
Pick a camera speed. Slower orbits suit large acreage and meetings where you talk over the video; faster orbits suit social, where you have two seconds to earn attention.
- Slow — client meetings, Presentation Mode, large parcels.
- Standard — the default for listing pages and PropCards.
- Fast — Reels, Stories, and paid social.
Step 5 — Generate
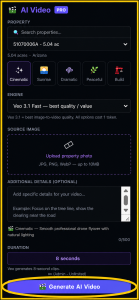
Click Generate. Five tokens are deducted and the render begins. It usually takes a couple of minutes, and you can leave the page and come back. The finished video appears in the property record with a preview player.
Watch it once before publishing. Check that the parcel stays in frame and the motion does not end on an awkward cut. If either misses, adjust your starting frame and regenerate — another five tokens, still cheaper than any reshoot.
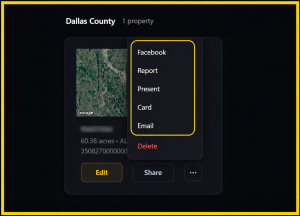
Step 6 — Publish and Share
Once you are happy with it, the video attaches to the property automatically. From there it flows everywhere your listing already goes:
- On the PropCard — the mobile landing page every property gets, alongside the 3D viewer, photos, and lead capture.
- In Presentation Mode — plays inline on a projector or big screen during a client walkthrough.
- Behind a QR code — on a yard sign, so a buyer at the gate watches the flyover on their phone.
- In your ads — download and post to Facebook, Instagram, YouTube, or an email blast.
Bringing Your Own Footage
Already have drone footage? The same Video panel accepts YouTube and Vimeo links as well as MP4 uploads, and your footage displays on the PropCard just like a generated video. Many sellers run both — a flyover for context, their own clip for ground-level detail.
How It Compares
The case for generating video this way is cost per listing. For one flagship property a year, hiring a videographer is defensible. At thirty listings at a time, the math is not close:
|
|
General video editor | Drone videographer | ParcelView3D AI Video |
| Cost per property | Your time | $400 – $800 | $5 (5 tokens) |
| Turnaround | 2 – 6 hours | 1 – 2 weeks | Minutes |
| Site visit needed | Yes, for footage | Yes | No |
| Shows parcel boundary | Manual overlay | Rarely | Built in |
| Skill required | Editing skills | Hire it out | None |
| Attaches to listing | Manual upload | Manual upload | Automatic |
A videographer gives you a human eye and ground-level shots. ParcelView3D gives you something they cannot: a polished, boundary-accurate video for every parcel in your portfolio, made the same afternoon you list it, for the price of a coffee. At volume, that consistency is the advantage.
Habits That Make Better Videos
- Confirm the boundary first — everything downstream inherits it.
- Fill in the property description before you generate.
- Render one video per parcel, not per ad — export once, post everywhere.
- Buy tokens in a larger pack — they never expire, so regenerating costs you nothing but a minute.
If You Would Rather Not Do It Yourself
For flagship listings, the ParcelView3D Done-For-You service delivers a full ad-ready package — a 60-second cinematic video, concept renderings, listing graphics, and a posting strategy — in five business days. Many sellers use both: Done-For-You for properties carrying an ad budget, the AI Video Creator for everything else.
Open a property, frame the shot, and generate. Your first flyover takes about five minutes.