A step-by-step guide for land sellers using ParcelView3D
Your featured image is the first thing a buyer sees when they come across your property listing. It appears on property cards, social-media shares, email previews, and the top of your listing page. A clear, well-chosen featured image can mean the difference between a scroll-past and a serious inquiry, so it is worth taking a minute to set it up correctly.
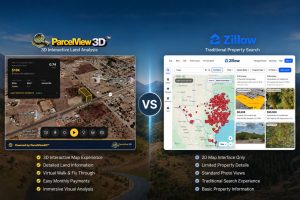
In ParcelView3D, the featured image is pulled directly from your property’s 3D viewer. Instead of hunting for a drone photo or cropping a satellite screenshot in another tool, you simply frame the view you want inside the viewer and capture it. This tutorial walks you through the entire workflow, from opening your property to confirming the image is live on your listing. The whole process takes about two minutes once you know where to click.
What You Will Need
- An active ParcelView3D account at parcelview3d.com
- A property that has already been added to your dashboard
- About two minutes of uninterrupted time
Step 1: Log In and Open Your Property
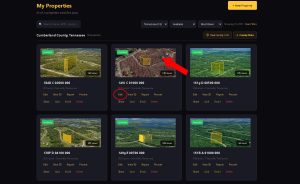
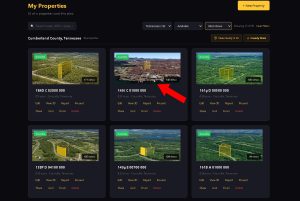
Start by logging into your ParcelView3D dashboard. Once you are signed in, you will see a list of all the properties currently on your account. Locate the listing you want to update and click the Edit button next to it. This opens the property’s edit page, where all of your settings, media, and viewer controls live.
If you just created the property and have not added any imagery yet, the featured image slot will usually show a default placeholder or the satellite preview of the parcel. That is perfectly normal, you are about to replace it.
Step 2: Wait for the 3D Viewer to Load
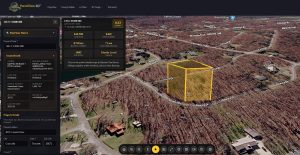
After you click Edit, the property’s edit page opens with the 3D viewer already embedded. This is the interactive map that shows your parcel outline, terrain, and any overlays you have enabled. The viewer is the source of every featured image you will capture, so whatever you see on screen is exactly what will be saved.
Give it a few seconds to finish loading before you do anything else. The tiles and 3D terrain stream in progressively, and capturing too early can leave you with a blurry or half-rendered image.
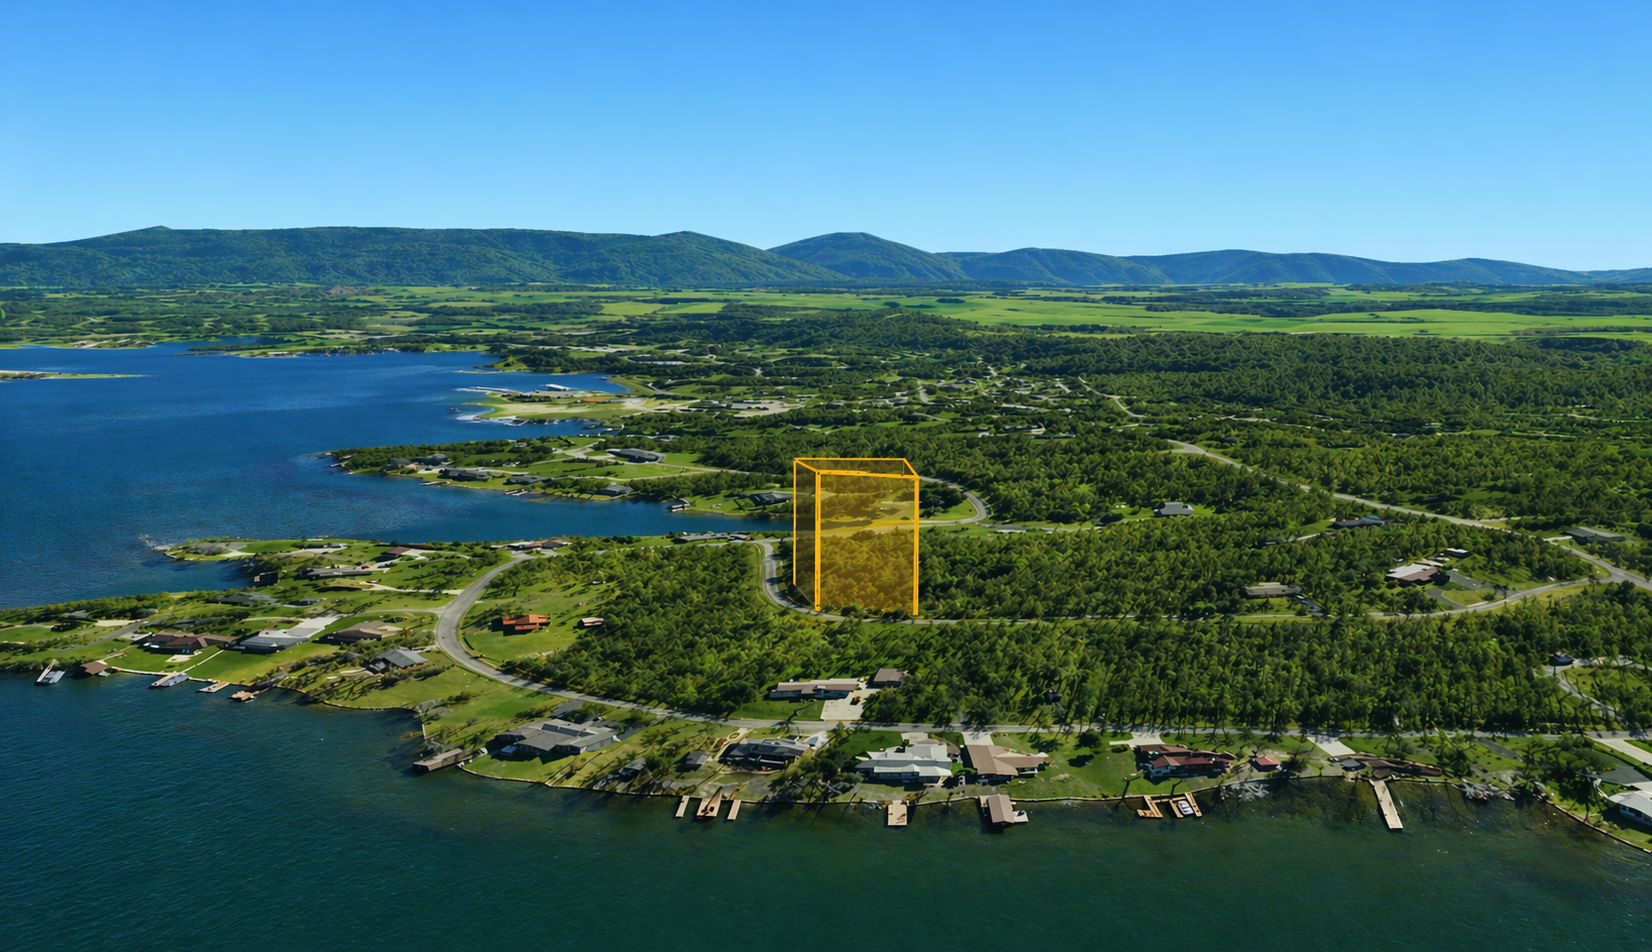
Step 3: Frame the Shot You Want
This is the most important step, and the one most people rush through. Take a moment to compose the view exactly the way you want a potential buyer to see it. Use your mouse or trackpad to pan, zoom, and tilt the camera until the parcel looks its best.
A few guidelines that consistently produce strong featured images:
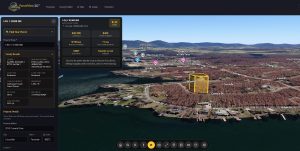
- Keep the entire parcel inside the frame, with a little breathing room around the edges.
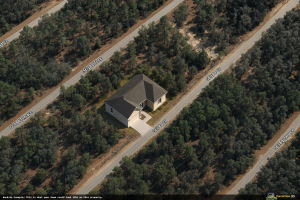
- Tilt the camera slightly for depth. A pure top-down view looks like a map, while a 30 to 45 degree tilt feels more like a property photo.
- If road access is a selling point, rotate the view so the access road is clearly visible.
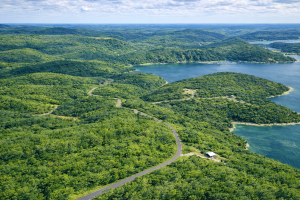
Pro Tip: If your property backs up to a lake, a mountain, or a highway, rotate the camera so that feature is visible in the frame. Buyers make decisions from the thumbnail, not the listing description.
Step 4: Capture the Featured Image
With the view framed the way you want it, follow this exact click sequence:
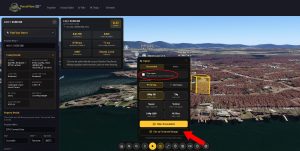
- Click the camera icon in the viewer toolbar.
- Click Clean Capture.
- Click Set As Featured Image.
- Click Allow when the confirmation prompt appears.
That is it. ParcelView3D saves the image automatically and sets it as the featured image on your home page, no downloading, renaming, or manual uploading required. The platform handles the entire pipeline for you in the background.
Step 5: Verify the Image on Your Listing
Close the viewer and return to the property page. The featured image thumbnail should now reflect the shot you just captured. It is a good idea to also open the public listing page, either in a new tab or an incognito window, to confirm the image is displaying correctly to visitors.
If you do not love the result, that is fine. Simply go back to the viewer, reframe the shot, and capture it again. Each new capture replaces the previous featured image, so there is no cleanup to do.
Troubleshooting
The image looks blurry. Wait for the 3D terrain and satellite tiles to finish loading before capturing. You can tell the viewer is still working when you see tiles fading in or popping into place.
Nothing happens when I click capture. Refresh the page, reopen the viewer, and try again. If your browser cache is aggressive, a hard refresh (Ctrl+F5 on Windows, Cmd+Shift+R on Mac) usually clears it up.
The old image is still showing on my listing. Browsers cache thumbnails aggressively. Hard refresh the public listing page or open it in an incognito window to confirm the update has actually gone live.
Wrapping Up
Setting a featured image in ParcelView3D is one of the highest-leverage edits you can make to a listing. It takes two minutes, requires no external tools, and has a direct impact on how buyers perceive your property. Make it a standard part of your workflow every time you add a new parcel, and revisit it whenever the seasons change or you want to highlight a different feature of the land.
For more tutorials and platform updates, visit parcelview3d.com or check out the ParcelView3D YouTube channel.